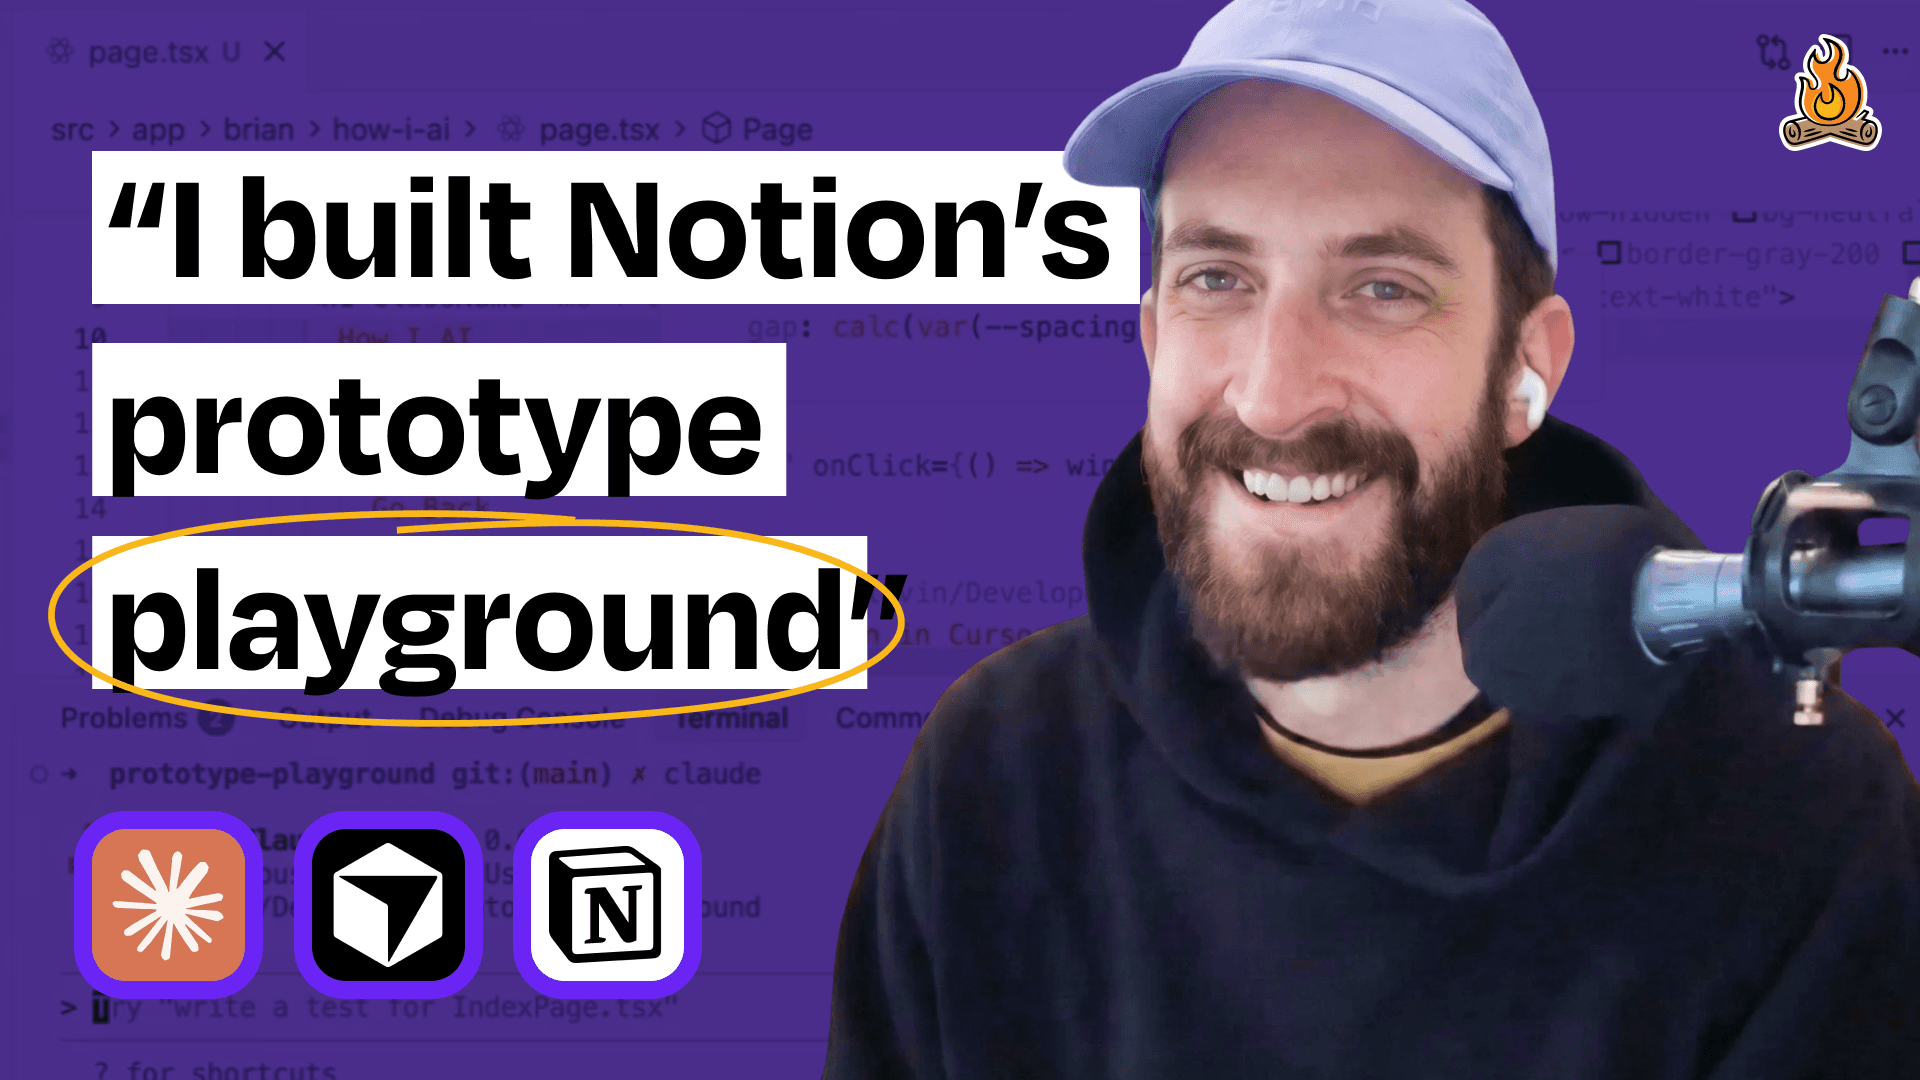
How Notion Designs with AI: Brian Lovin's Prototype Playground and Claude Code Workflows
I sat down with Notion AI's Brian Lovin to see how their design team uses a custom "Prototype Playground." He shows us how to transform Figma designs into code with Claude Code, automate developer workflows with custom skills, and why code-based prototyping is the future for building AI products.
Claire Vo
In my quest to find out how the best builders are using AI, I was so excited to sit down with Brian Lovin, a designer on the Notion AI team. Notion is famous for its incredible design, so I wanted to know how they’re incorporating AI into their own creative process. It turns out, Brian is at the forefront of a major shift in how design work gets done.
He walked me through the “Prototype Playground,” a shared coding environment he built for the entire Notion design team. It’s designed to help them move from idea to interactive prototype as fast as possible, often with the help of Claude Code. Brian’s philosophy is that designs need to “encounter reality as early as possible,” and getting ideas into a real browser environment—with all its quirks and constraints—is the quickest way to build better products.
In this episode, Brian shows us the exact workflows his team uses to build prototypes from natural language, transform Figma files directly into code, and even automate the tedious parts of software development like fixing icon names and deploying code. This is a look into the future of design, where the lines between designing and building are blurring in the best way possible.
The Foundation: Notion's Prototype Playground
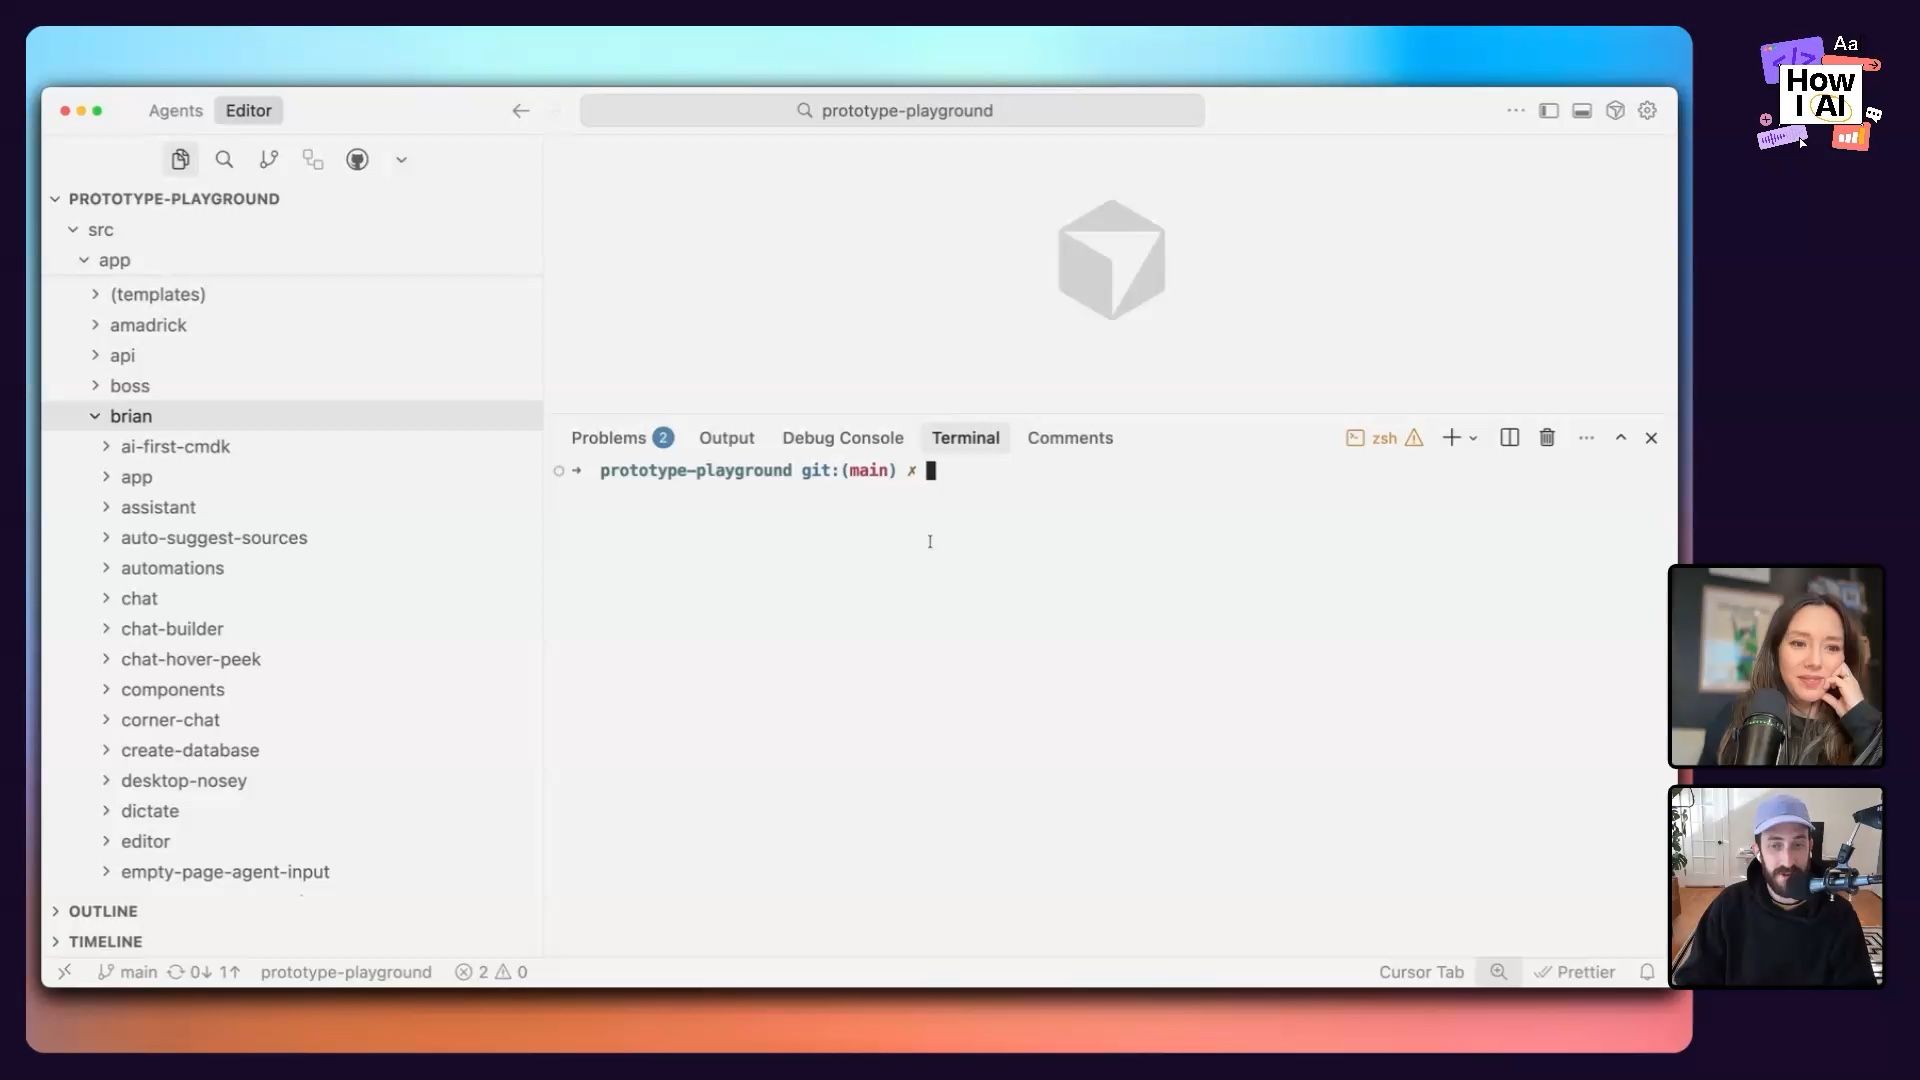
Before we get into the specific workflows, it’s important to understand the environment Brian built. The Prototype Playground isn't some magical, complex platform. It's a simple Next.js application hosted in a single GitHub repository that the entire design team can access.
Here’s how it works:
- One Repo to Rule Them All: Instead of every designer spinning up their own repository, everyone works within the same project. This creates visibility and makes it easy to share and borrow ideas.
- Namespaced Directories: Inside the app's file structure, each designer has their own folder. This keeps everyone's work organized and prevents them from accidentally overwriting each other's prototypes. It’s simple, file-based, and has no backend database.
- Shared Components: The playground includes a set of shared styles, colors, typography, and icons that match Notion's design system. This allows anyone to quickly spin up a prototype that feels “Notion-y” without starting from scratch.
- External Links: Brian even added a feature to link to external prototypes, whether they're in Figma, V0, or another tool. This makes the playground a central hub for all design experiments, regardless of the tool used.
This setup is the launchpad for all the AI-powered workflows Brian demonstrated. It creates a collaborative space where designers can encounter the “reality” of code and the browser early and often.
Workflow 1: From Idea to Interactive Prototype with a Single Prompt
One of the most immediate benefits of using an AI coding assistant is the ability to turn a simple idea into a working prototype in minutes. Brian showed me his exact process for doing this, which combines a few smart tools and techniques.
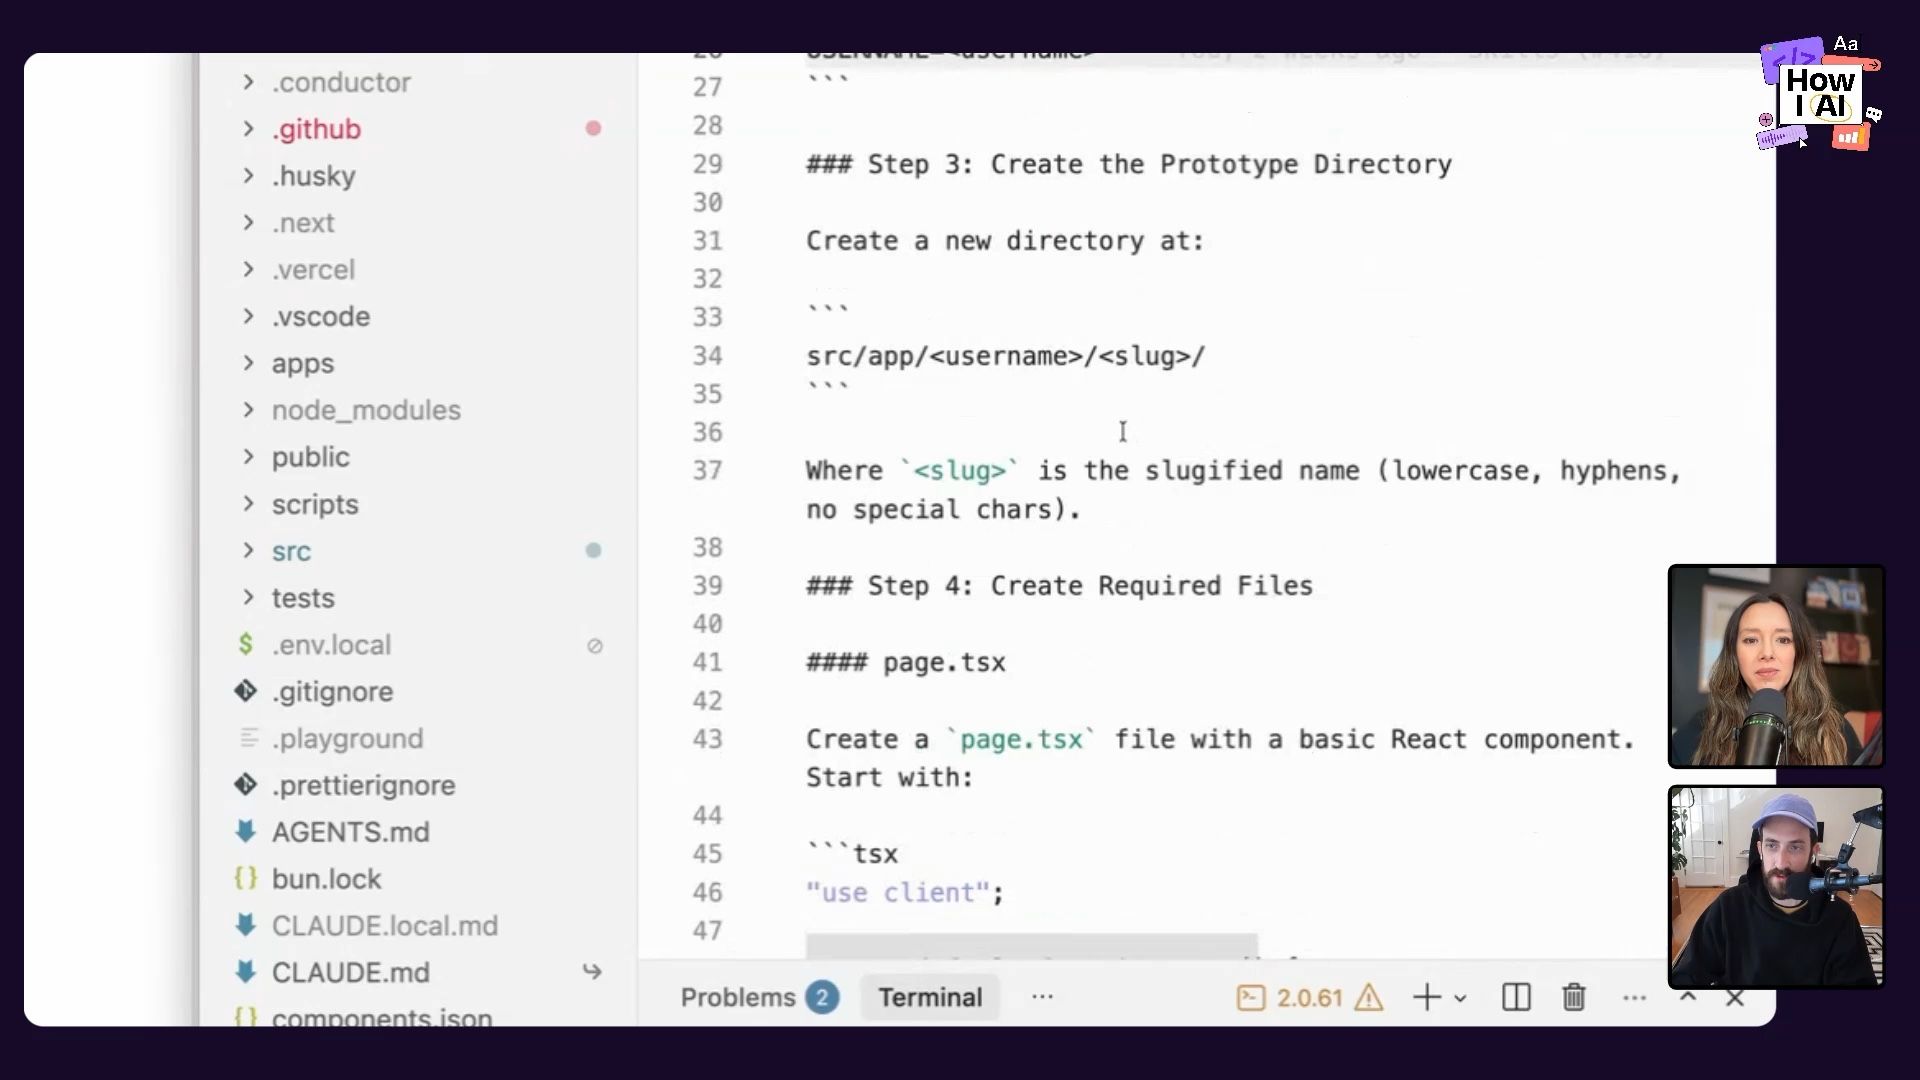
Step 1: Set Up the Workspace
Brian works in a three-pane layout: his terminal running Claude Code on one side, his code editor (Cursor) in the middle, and the live browser preview on the other side. This lets him prompt the AI, review the code changes, and see the results in real-time without constantly switching contexts.
Step 2: Talk, Don't Type
To make prompting faster and more natural, Brian uses a tool called Monologue to dictate his instructions. It’s much quicker than typing out a detailed spec.
Step 3: Plan Before You Code
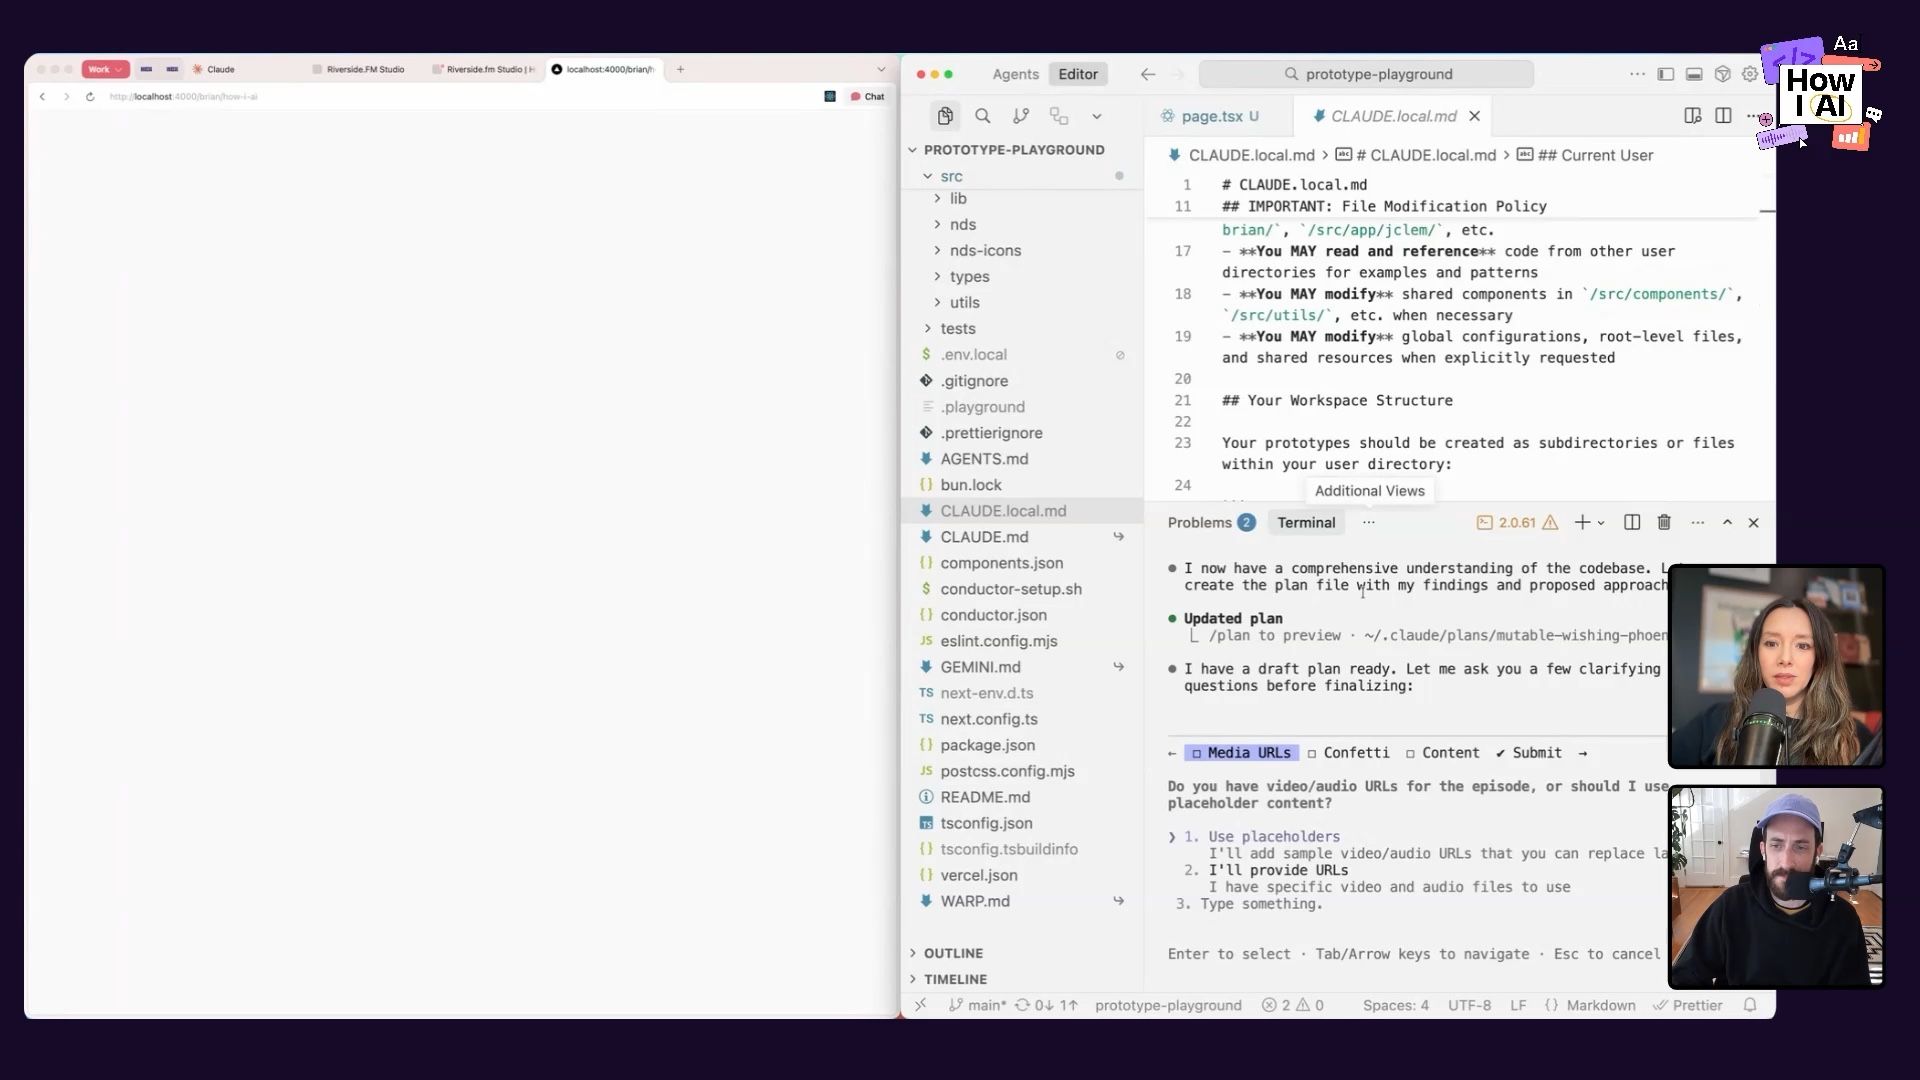
This is a critical step. Brian always uses Claude’s “plan mode” first. This forces the AI to outline its approach, including the components it will create, the libraries it needs, and the overall structure. Brian stressed how important it is to actually read the plan. With a bit of development background, you can spot potential issues before any code is written, saving a ton of debugging time later.
For our example, we decided to build a simple detail page for a podcast episode. Here’s the prompt he dictated:
I wanna build a new prototype in this How I AI directory, and we are a podcast, and I want to build a detail page for a podcast episode that has both a video player and an audio player. Underneath the page should have the title of the episode, a description, and how about if you hit play, there's little confetti that shoots up out of the player.
Step 4: Execute and Admire
After reviewing and approving the plan, he let Claude get to work. The AI installed a confetti library, structured the page with Tailwind CSS, and built out the React components. The result was a surprisingly polished and functional prototype, complete with working confetti that popped when you hit play. This whole process took just a couple of minutes.
Workflow 2: Transforming Figma Designs into Code with a Verification Loop
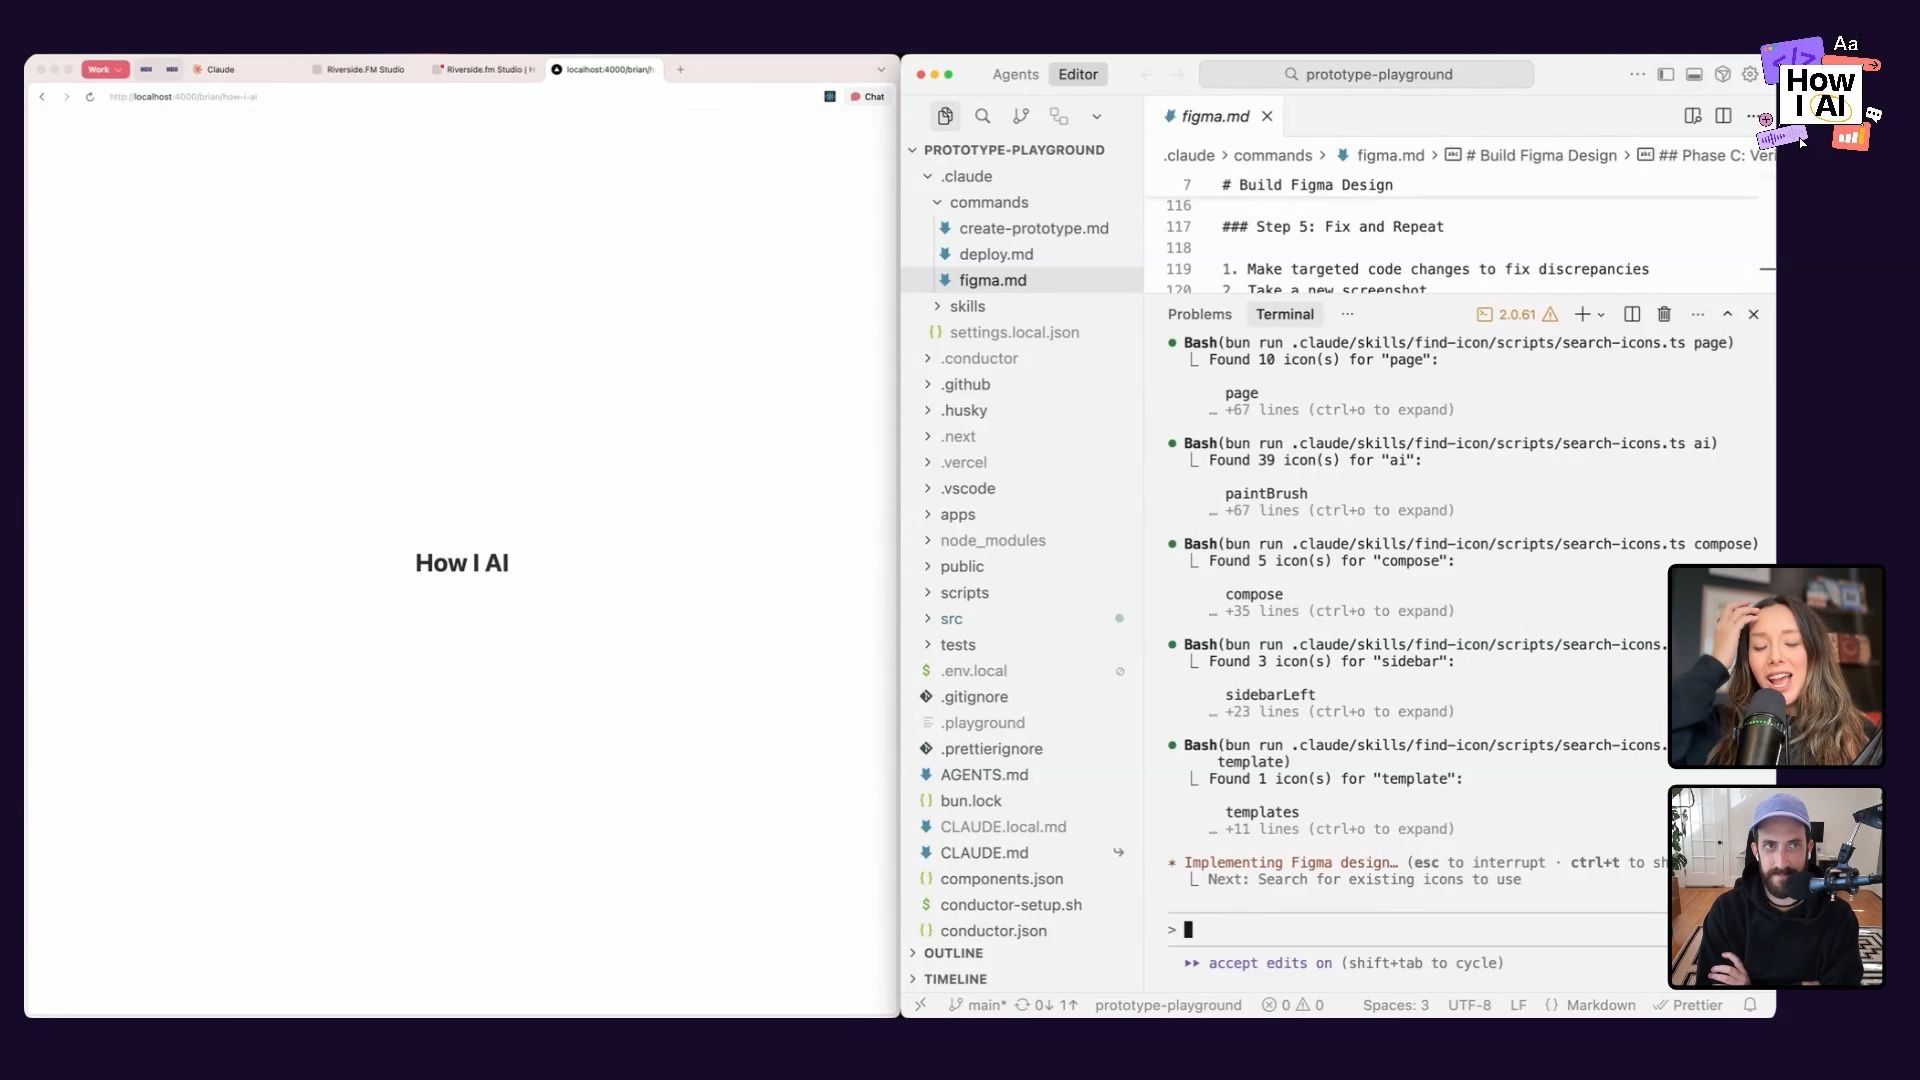
This next workflow is a huge one for any product team. It addresses the classic, time-consuming handoff where an engineer has to manually translate a static Figma design into front-end code. Brian built a custom slash command, /figma, to automate this almost entirely.
Step 1: Invoke the /figma Command
Instead of a vague prompt, Brian created a structured command that streamlines the process. He simply types /figma in his terminal and pastes the public link to a Figma frame.
Step 2: The Self-Correction Loop
This is where the magic happens. The command doesn’t just do a one-time conversion. It initiates a verification loop:
- Extract: It uses a Model-Code-Program (MCP) to connect to the Figma API and extract design tokens, layout information, and assets.
- Implement: It writes the Next.js and Tailwind code to build the UI.
- Verify: It then uses another MCP—the Chrome DevTools MCP—to open the generated prototype in a browser, inspect it, and compare it visually to the original Figma design.
- Iterate: If it finds discrepancies (like a missing image or incorrect layout), it goes back to the code, attempts a fix, and repeats the verification process. Brian instructed it to loop until the implementation is correct or after three iterations with no changes.
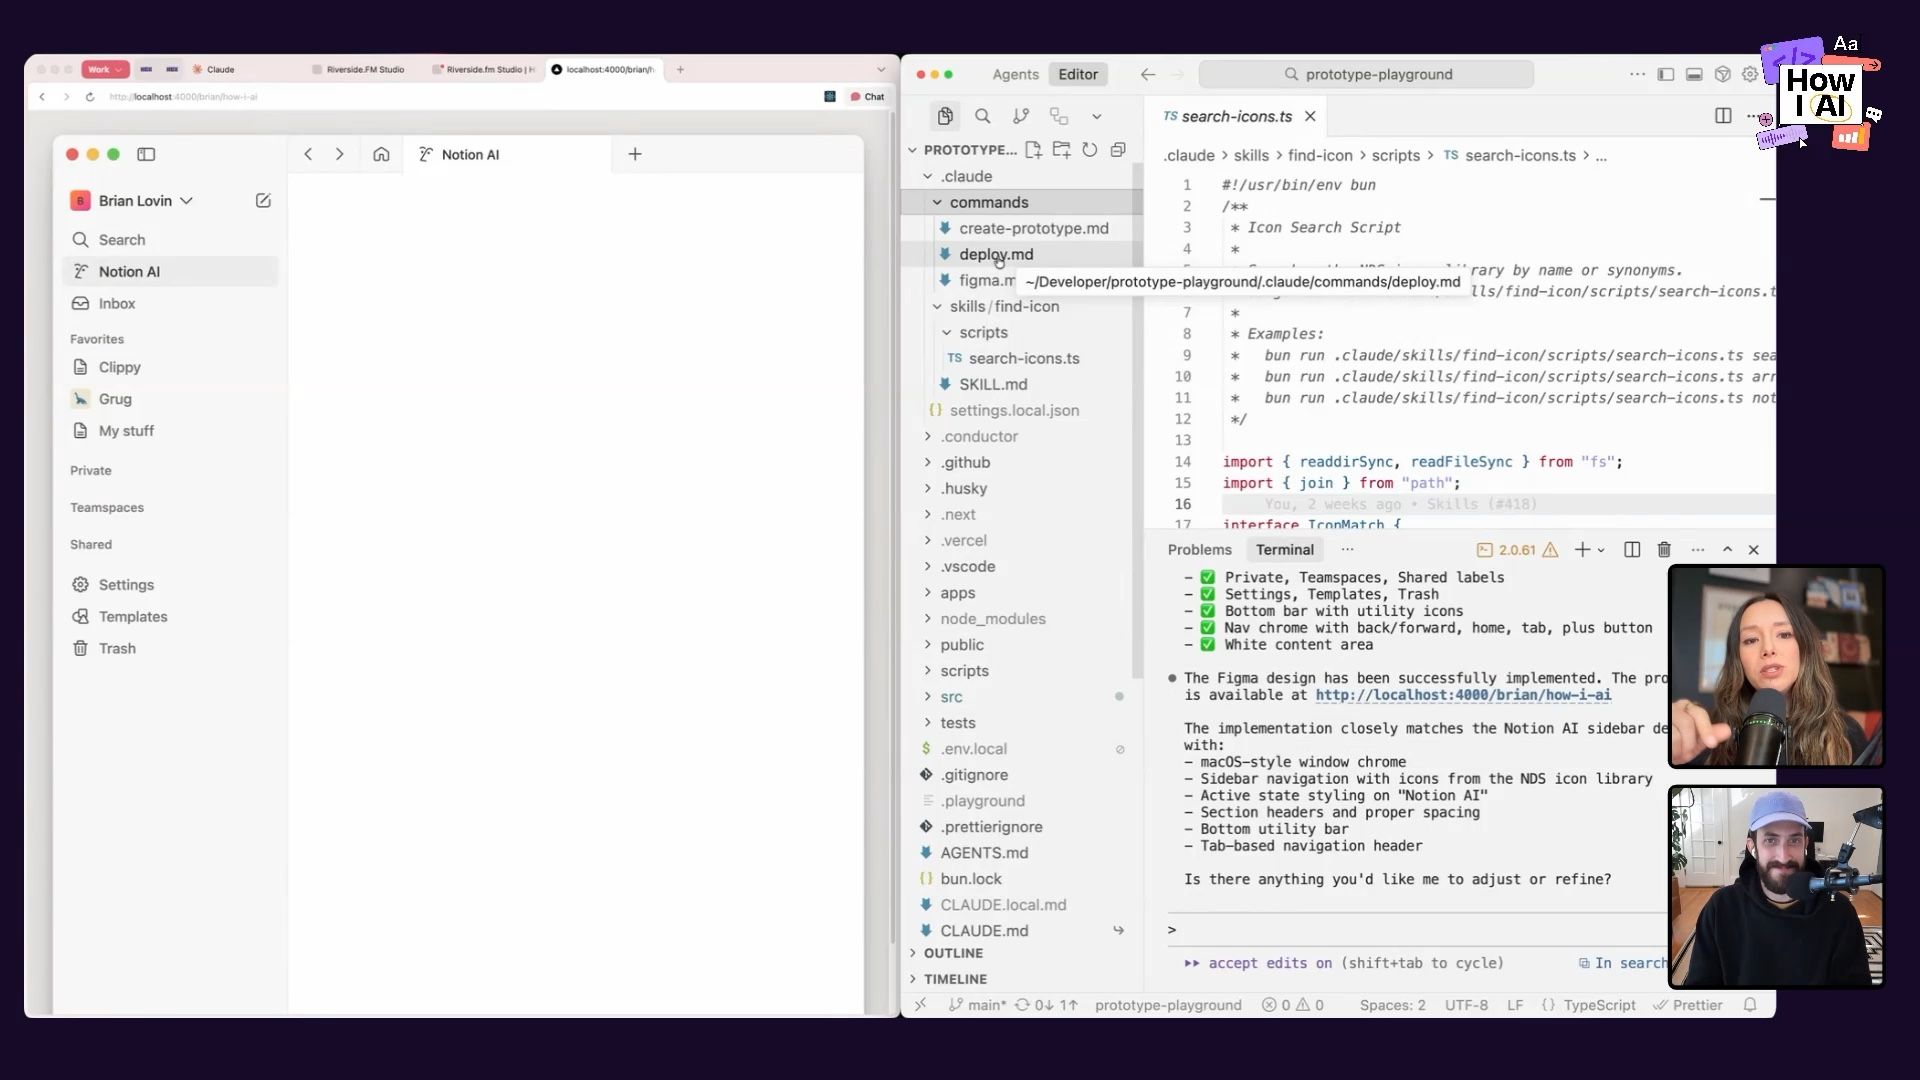
The Result: 80% of the Way There in Seconds
We watched as Claude built a fairly complex Notion-style sidebar from a Figma link. It initially had some broken images, but on its second loop, the verification process caught the error and fixed the image paths. The final result was about 80% complete, saving what could have been hours of manual pixel-pushing.
Workflow 3: Automating Repetitive Tasks with Custom Claude Commands and Skills
Brian’s most powerful insight is his number one rule for working with AI: “Anytime the AI asks you to do something, you should, before responding, try your best to see if you could teach the AI to answer that question for itself.”
This philosophy led him to create a suite of custom commands and skills to automate the boring, repetitive, and error-prone parts of development. These tools are what make the Prototype Playground truly accessible to the whole team.
Solving “Icon Hallucination” with a Custom Skill
The Problem: A common frustration was that the AI would “hallucinate” icon names. It might guess an icon is named search-icon when in the codebase it’s actually magnifying-glass-icon, leading to broken images and compilation errors.
The Solution: Brian created a custom find-icon Claude Skill. A skill is a reusable capability that the AI can decide to use automatically when it detects a relevant situation. This skill combines natural language instructions with an executable script written in TypeScript. When Claude needs to implement an icon, the skill runs the script to search the project's 5,000+ icons for the correct name, even checking for synonyms. You can learn more about building these in our previous post, Claude Skills explained.
This small automation saves countless hours of manually fixing broken icon imports.
Simplifying Deployment with the /deploy Command
The Problem: For designers not used to the command line, the process of using Git—creating a branch, committing code, pushing, opening a pull request, and monitoring CI checks—can be incredibly intimidating.
The Solution: Brian built a /deploy command that automates the entire end-to-end process.
Here’s what it does:
- Prerequisite Checks: It first checks if the user has the GitHub CLI tool installed and is authenticated, guiding them through the setup if not.
- Branch Management: It detects if the user is on the
mainbranch and, if so, automatically creates a new, descriptively named branch for their changes. - PR Creation: It stages the files, creates a commit, pushes the branch to GitHub, and creates a pull request.
- Open in Browser: In a brilliant UX move, it automatically opens the newly created PR in the user's default browser so they can see it immediately.
- CI Monitoring: It then enters a loop, monitoring the status of the CI checks every 30-60 seconds. If a check fails (like a linting or type error), it attempts to fix the issue itself, pushes the fix, and continues monitoring until all checks are green.
This command abstracts away almost all the complexity of deployment, empowering anyone on the team to share their work without needing to be a Git expert. And if you're looking for a gentler intro to Git, I'm also a big fan of the GitHub Desktop app!
The Future of Design is Closer to Code
Brian's work at Notion is a powerful example of how AI is changing not just the tools we use, but the very way we collaborate and create. He argues that as more products incorporate AI, designing in static tools like Figma becomes insufficient. You can't feel what a chat experience is like or discover the edge cases of a large language model from a mock-up.
By building a system that makes code-based prototyping fast, collaborative, and accessible, Brian is empowering his team to build more intuitive and robust AI experiences. The key isn't just using AI to write code; it's about building an entire automated system around it that smooths out friction and lets designers focus on what they do best: creating great products.
And if you're ever struggling to get the AI to cooperate, remember Brian's final piece of advice: the quality of your output is directly correlated with the quality of your input. Sometimes the best way to write a better prompt is to just go to bed and try again tomorrow.
Brian, thank you for joining How I AI!
***
Thanks to our Sponsors!
- WorkOS—Make your app Enterprise Ready today
- Orkes—The enterprise platform for reliable applications and agentic workflows
***
Episode Links
Where to find Brian Lovin:
- Website: https://brianlovin.com/
- LinkedIn: linkedin.com/in/brianlovin
- X: https://twitter.com/brian_lovin
Where to find Claire Vo:
- ChatPRD: https://www.chatprd.ai/
- Website: https://clairevo.com/
- LinkedIn: https://www.linkedin.com/in/clairevo/
- X: https://x.com/clairevo
Tools referenced:
- Claude Code: https://claude.ai/
- Cursor: https://cursor.sh/
- Next.js: https://nextjs.org/
- Figma: https://figma.com/
- Monologue: https://www.monologue.to/
- GitHub: https://github.com/
- GitHub Desktop: https://desktop.github.com/
- Tailwind: https://tailwindcss.com/
- Bun: https://bun.sh/
Other references:
- Claude Skills explained: How to create reusable AI workflows: https://www.lennysnewsletter.com/p/claude-skills-explained
Try These Workflows
Step-by-step guides extracted from this episode.

Automate Your Git and Deployment Workflow with a Custom AI Command
Build a custom `/deploy` command that automates the entire Git process—from branching and committing to creating a pull request and monitoring CI checks. The AI can even fix its own CI failures.

Build an AI Workflow to Convert Figma Designs to Code with a Self-Correction Loop
Create an automated system that uses an AI agent to convert Figma designs into Next.js code. The agent then verifies its output against the original design and iteratively corrects its own mistakes.

Use Claude Code to Rapidly Build Interactive Prototypes from Ideas
Use Claude Code, a dictation tool, and a three-pane workspace to turn a natural language idea into a functional Next.js and Tailwind CSS prototype in minutes, bringing design concepts to life.

