How I AI: A Beginner's Guide to Coding with AI—Build Your First Project Hub
Never written a line of code? This episode is for you. I'll walk you through building a personal project hub from scratch using AI tools like Cursor, creating AI agents for documentation, and vibe-coding a clickable prototype.
Claire Vo
One of the biggest 'safe space questions' I get is, “Claire, I’ve never coded, I don’t know where to start, but I want to learn. How do I get started with AI-assisted coding?”
I hear you. We’ve talked about 'vibe coding' and had Lee from Cursor on the show, but we’ve never gone from a completely blank slate—zero files, zero code—to a functioning local application. In today's mini-episode, I'm doing just that, completely live and unscripted. We’ll have some hiccups (and a complete misfire!), but that’s all part of the learning process.
Our goal is to build a personal project hub: a simple, local web app where you can use AI to generate documents like Product Requirements Documents (PRDs) and build little interactive prototypes. This is the perfect starter project for product managers, designers, or anyone who wants to get more comfortable with AI coding tools and start experimenting. We'll start with an idea, hit a wall, pivot, and end up with a functional, cute, and useful tool that you can build right alongside me. If you want to follow along, grab your computer, and let's go from zero to one together.
Workflow 1: The PRD and the Prototyping Detour
Like any good project, I'm starting not with code, but with a plan. My first step is always to write a requirements document. It helps get my own thinking straight and gives the AI much better direction for the steps that follow.
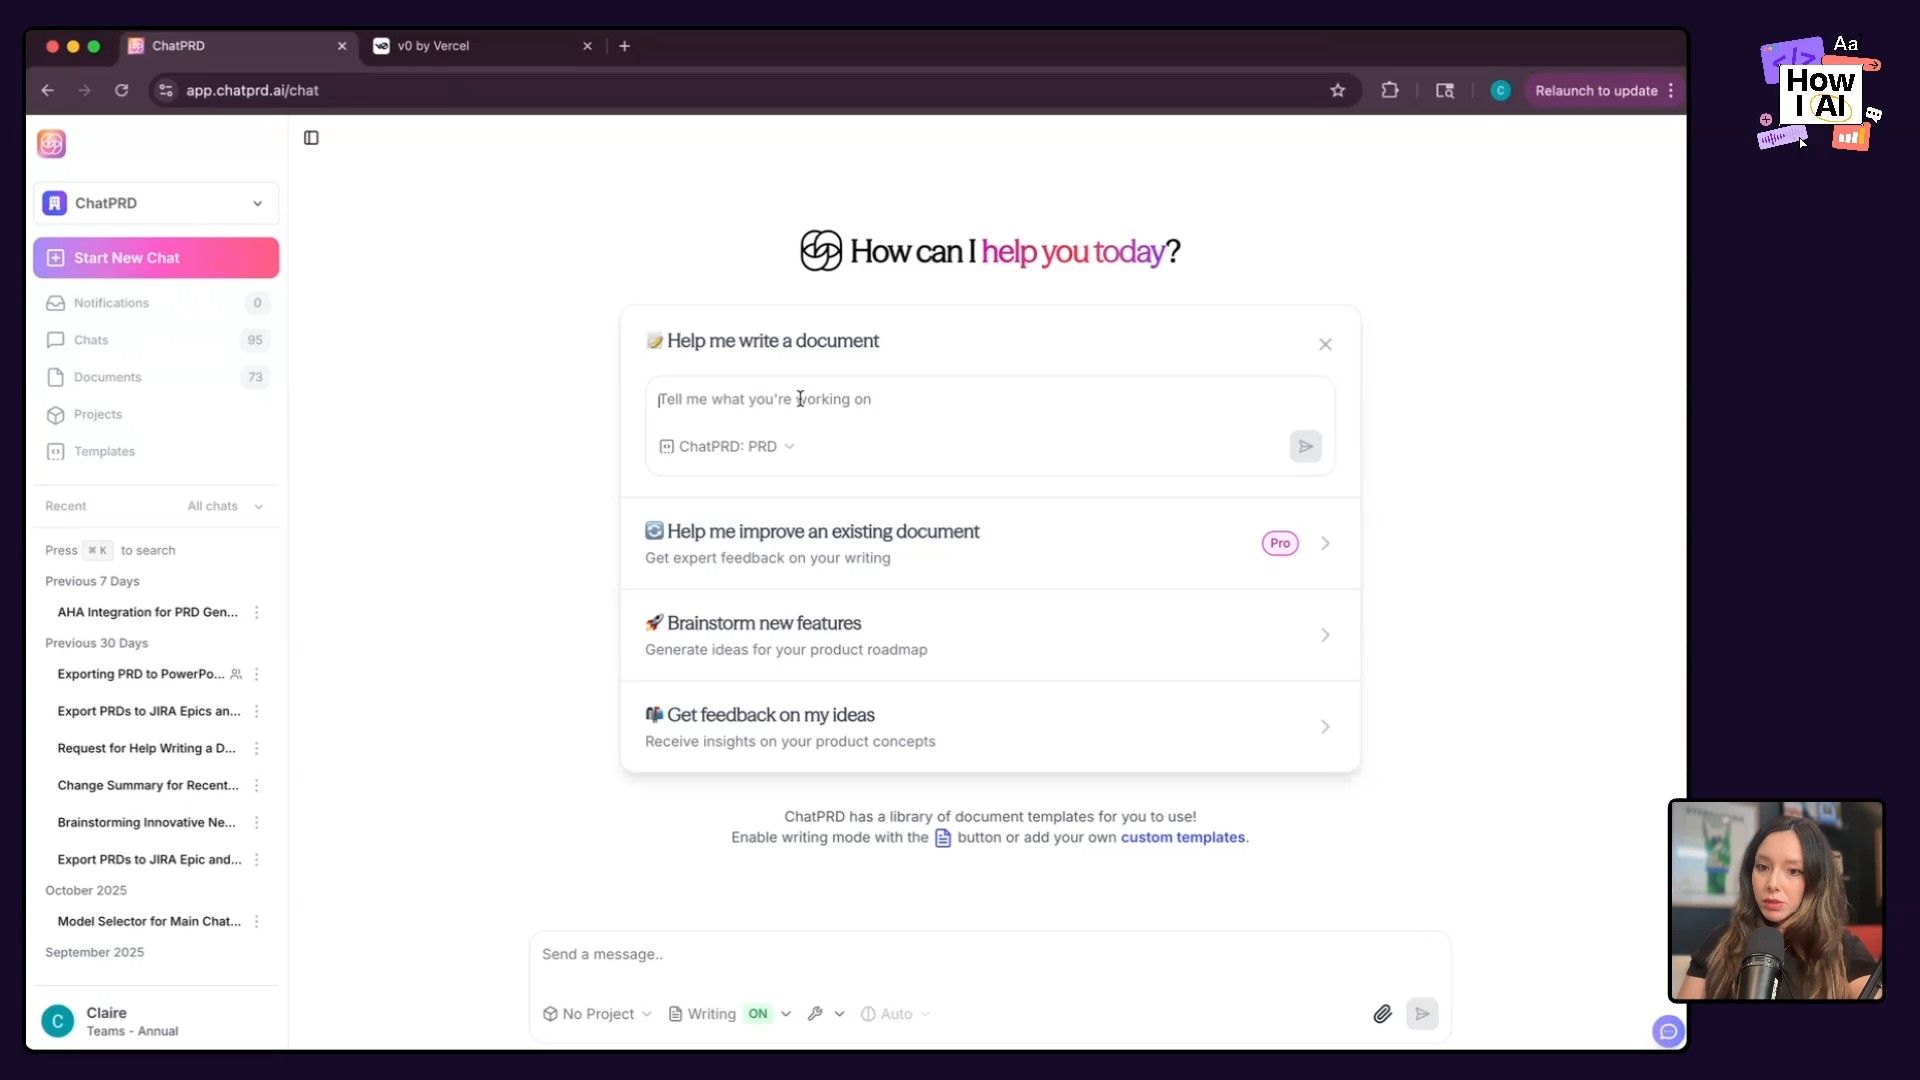
Step 1: Generating a PRD with ChatGPT
I decided to build a simple personal hub for managing product work. I wanted one place for my AI-generated documents and another for my AI-coded prototypes. I opened up ChatGPT with a straightforward prompt to get things started.
Help me write a document for a personal project. A minimal simple hub for working on two things:
>
1. The documentation, PRDs and ideas.
>
2. Small interactive prototypes.
>
I want a web app with basically two navigation items on the left, docs and prototypes. And I will turn this into a Next JS app where I can write docs in markdown, and five code little prototypes.
ChatGPT quickly produced a solid PRD outlining the goals, features, and target audience (which is just me!). Having this document is a big help because it becomes the source of truth for the next, more visual step.
Step 2: A Swing and a Miss with v0
With my PRD in hand, my next thought was to use a 'vibe coding' platform to quickly generate a user interface. I chose v0 by Vercel because it typically produces clean UI and makes it easy to export code. My hope was to get a visual starting point and then pull it into a code editor to customize.
However, this is where we hit our first live-coding snag. I fed the PRD into v0, and while it started building, it went... overboard. The platform, in its effort to be helpful and create a complete application, added way more complexity than I asked for. It built file management systems, a code sandbox, and all sorts of features that were far beyond the 'minimal simple hub' I wanted.
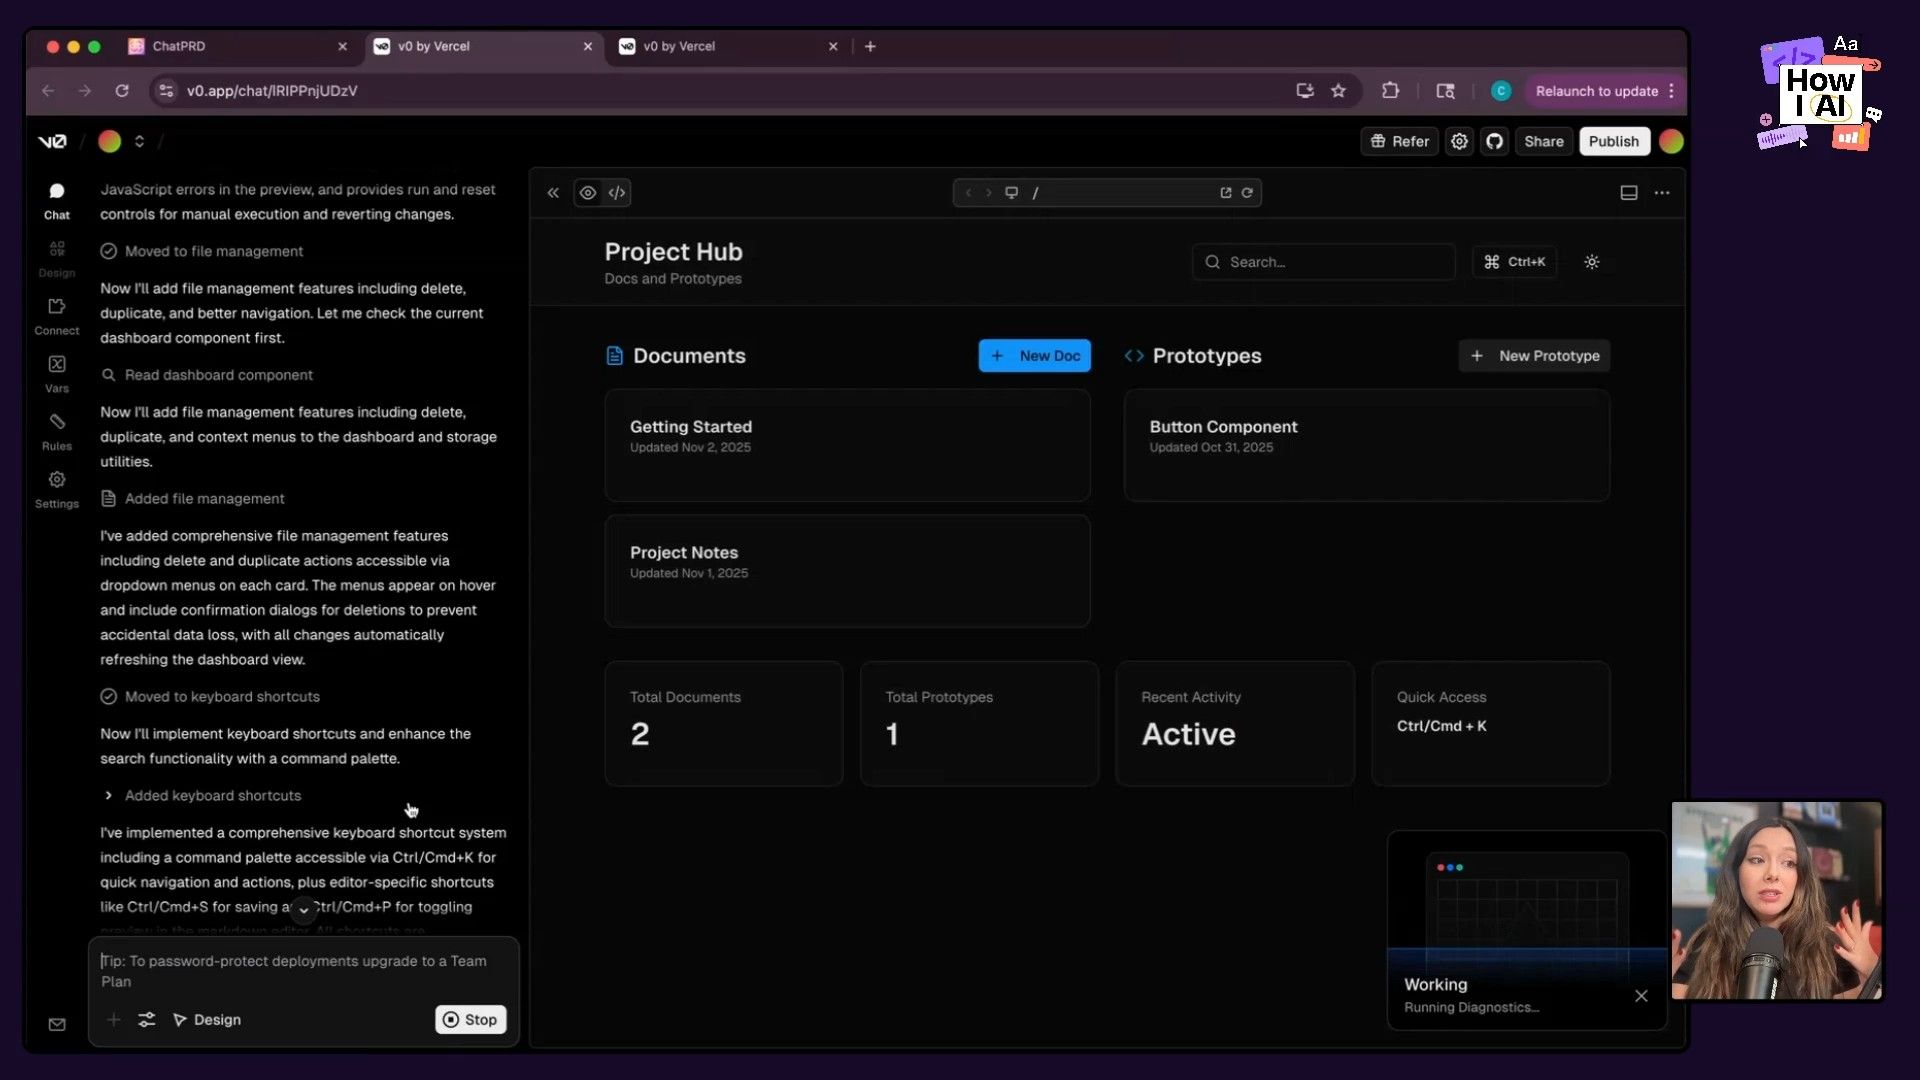
This is a great lesson: as AI coding tools become more 'agentic' and try to build end-to-end applications, they can introduce scope creep. It built me something very fancy, but it wasn't what I needed to get started.
After about 10 minutes of waiting and seeing the result, I declared it a bust. And that's perfectly okay! The cost of this experiment was minimal, and it taught me a valuable lesson. The right workflow for this project was to start simpler, directly in a code editor.
Workflow 2: Building Our Hub from Zero with Cursor
After ditching the v0 prototype, I decided to start fresh directly in Cursor, the AI-native code editor I like to use. This turned out to be the perfect path for a beginner-focused project.
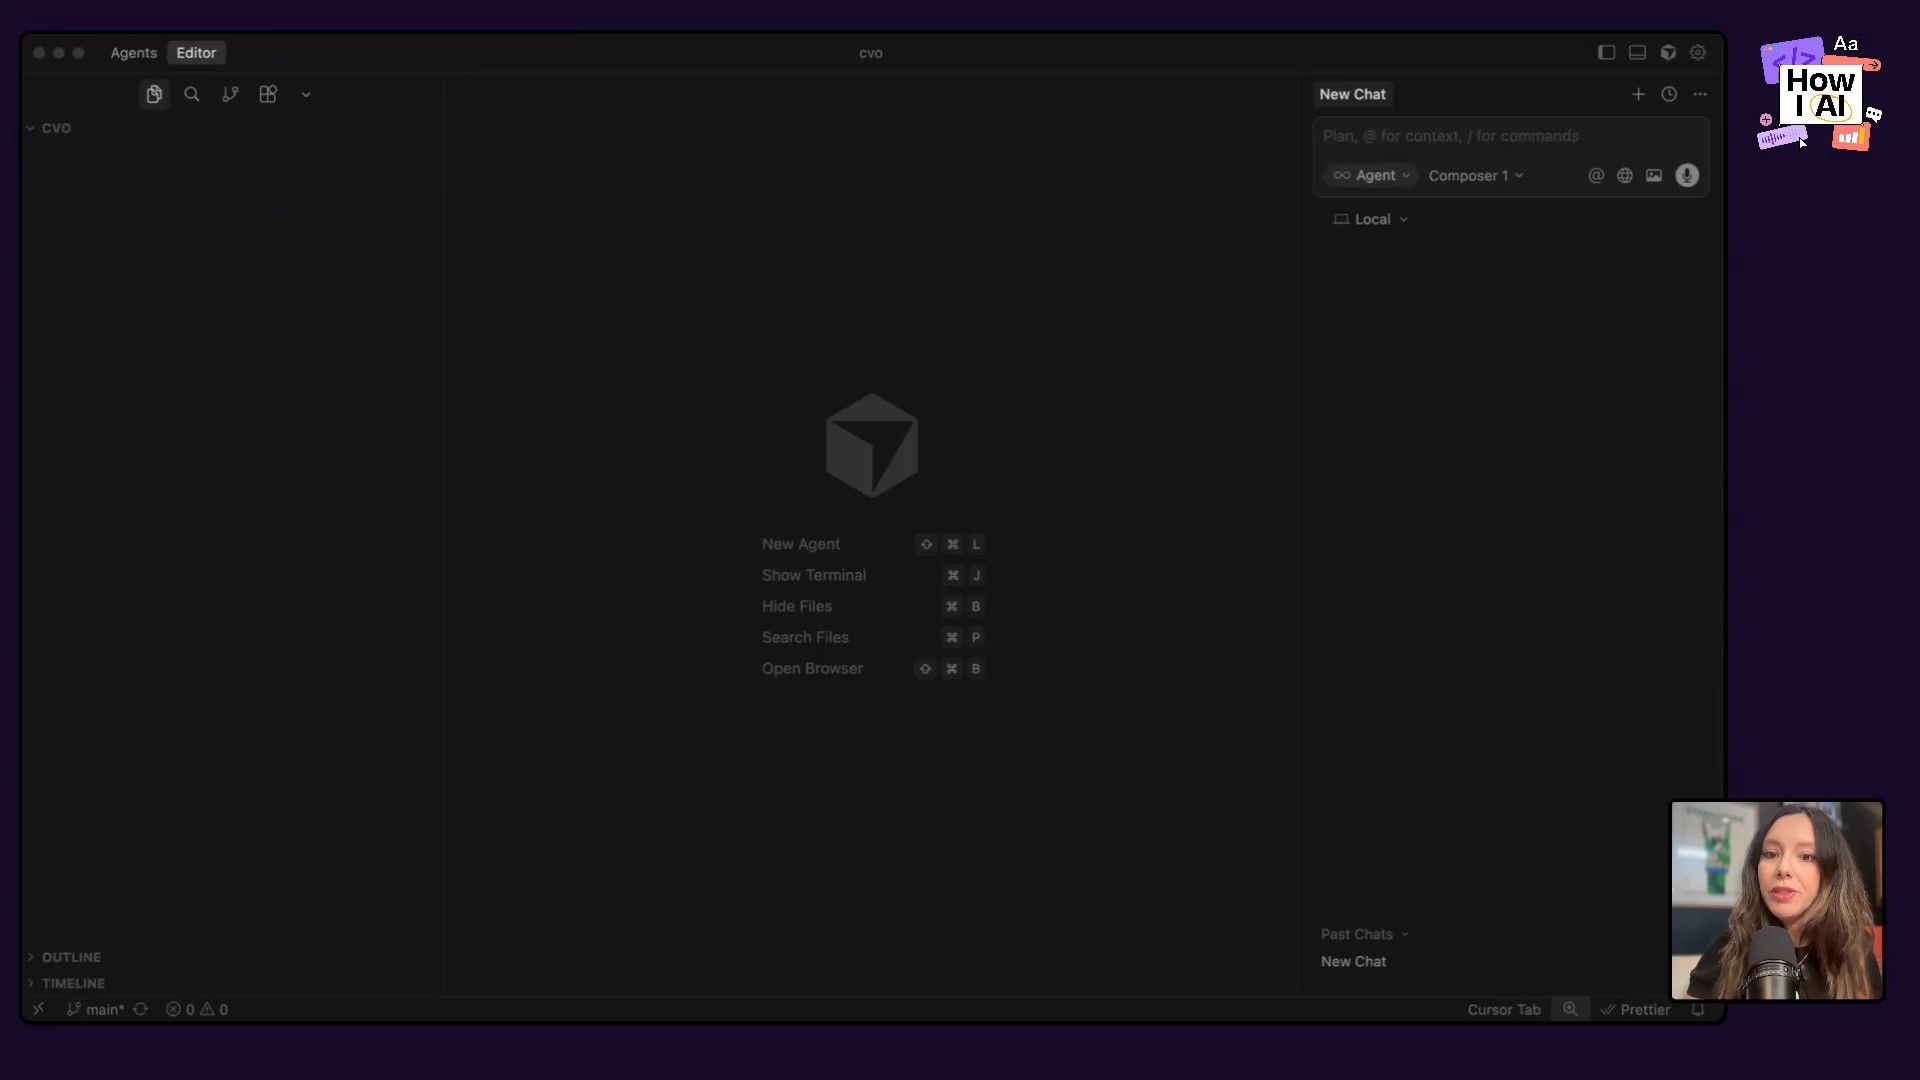
Step 1: Setting Up the Environment
The setup is really simple:
- Create a new, empty folder on your computer. I named mine
cvo. - Open this empty folder in Cursor.
- Switch to the new 'Agents' view in Cursor 2.0. This view is great for beginners because it lets you focus on instructing the AI what to build, rather than dropping you immediately into complex file structures.
Step 2: The First Prompt with Composer One
I took my original PRD and gave Cursor's agent a clear, concise instruction. I also specifically chose to use Composer One, Cursor's new, very fast model. Here’s the prompt:
I want a very simple next JS app set up where I can keep a repository of markdown docs, PRDs, and. Code in different directories, little, um, prototypes that will be displayed in the app
Here is A PRD, but keep it super basic. We're starting from scratch. So give me all, all the steps I need to set up and run this.
The agent got to work immediately. It scaffolded a Next.js application, installed necessary libraries like Tailwind CSS for styling, created the project structure, and wrote the initial pages. It was really fast and, most importantly, it kept things simple, just as I asked.
Step 3: Running the App Locally
After a minute, I had a full file structure, but as a beginner, files aren't what you want to see—you want to see the app! I asked the agent a simple follow-up:
Cool, but how do I run this?
It gave me the exact command to run in Cursor's built-in terminal:
npm run dev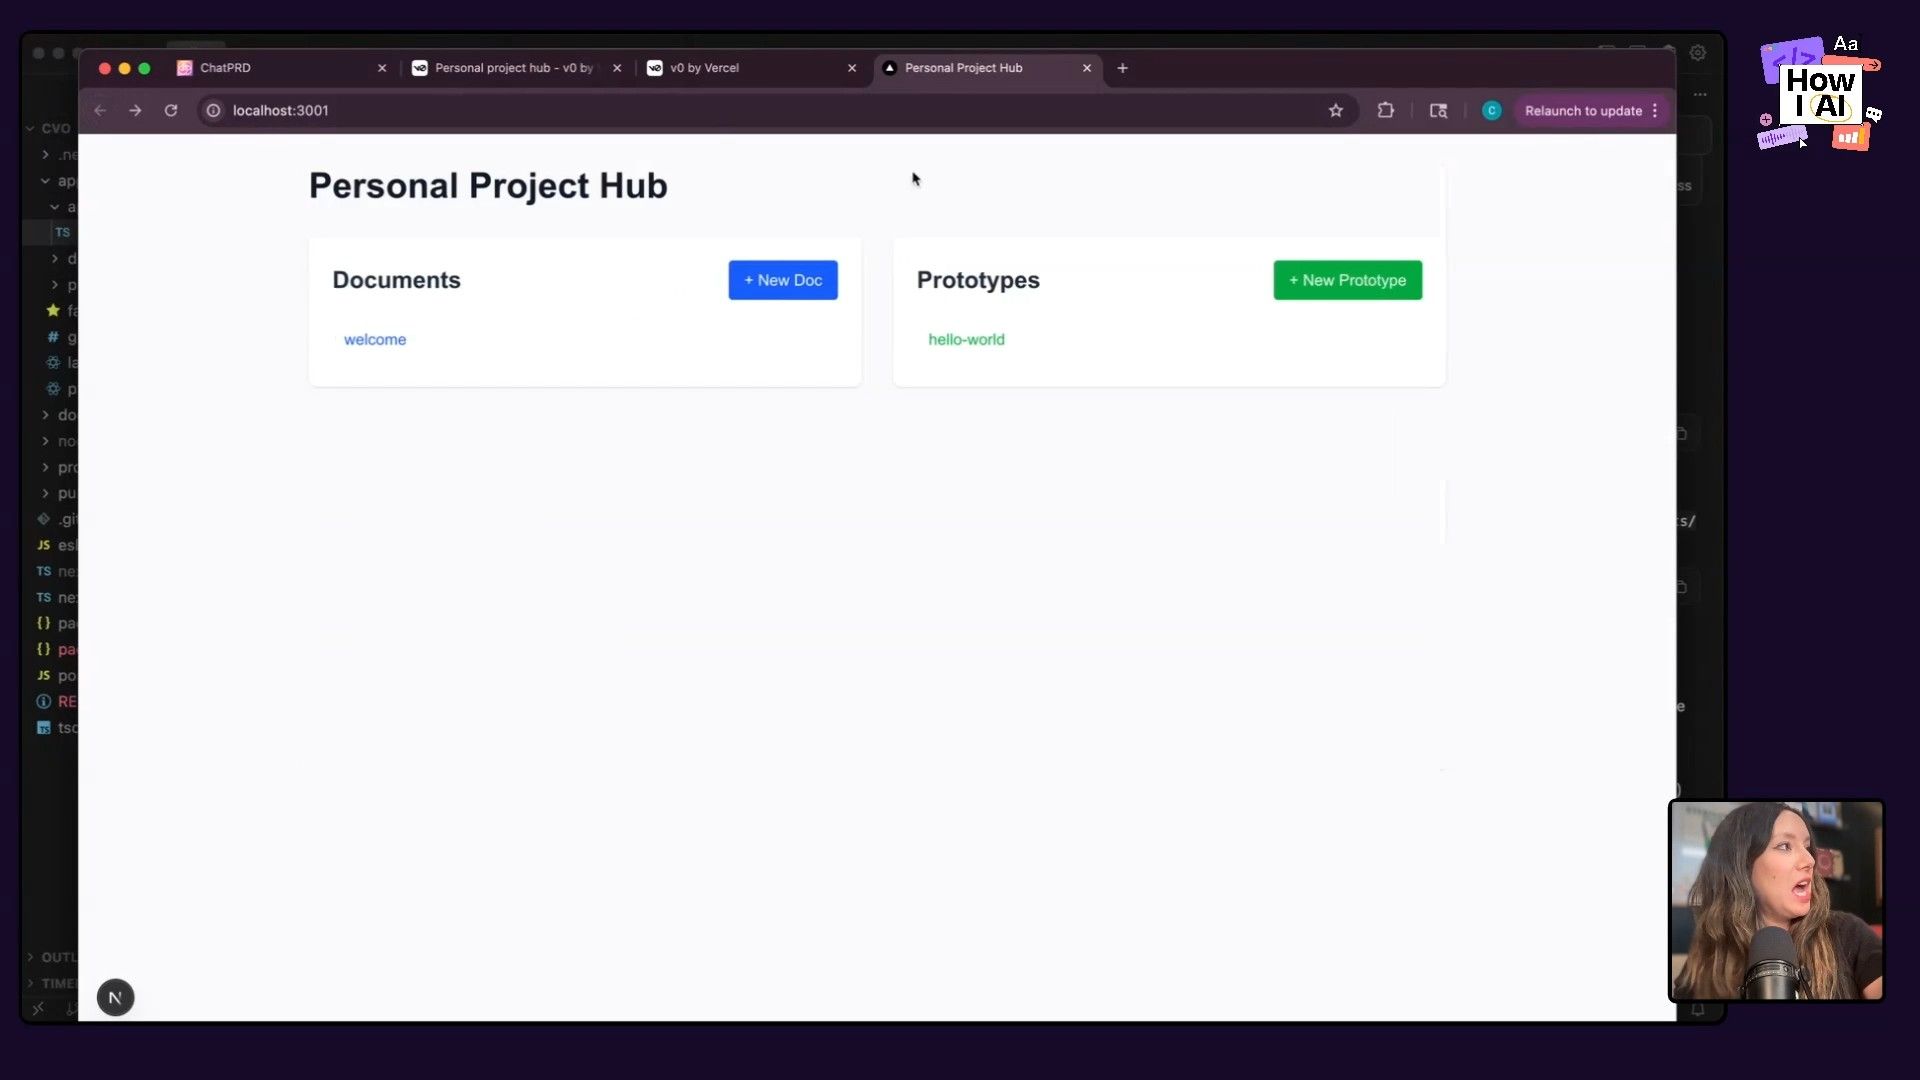
And just like that, I had a working web app running locally on my machine! It had my 'Documents' and 'Prototypes' sections. The complexity was perfect—exactly what I had envisioned. This is the magic moment for any new coder.
Step 4: Setting up Version Control with GitHub
Before going further, it’s a good idea to set up version control. This is how you track changes and save your work. For beginners, I really recommend the GitHub Desktop app. It provides a visual interface for GitHub concepts like commits and branches, which is much easier than using the command line.
- Open GitHub Desktop and add your new project folder as a new repository.
- Create your first 'commit'—this is like a snapshot of your code at a specific point in time. I committed all the initial files Cursor generated.
- Publish the repository to your GitHub account to back it up online.
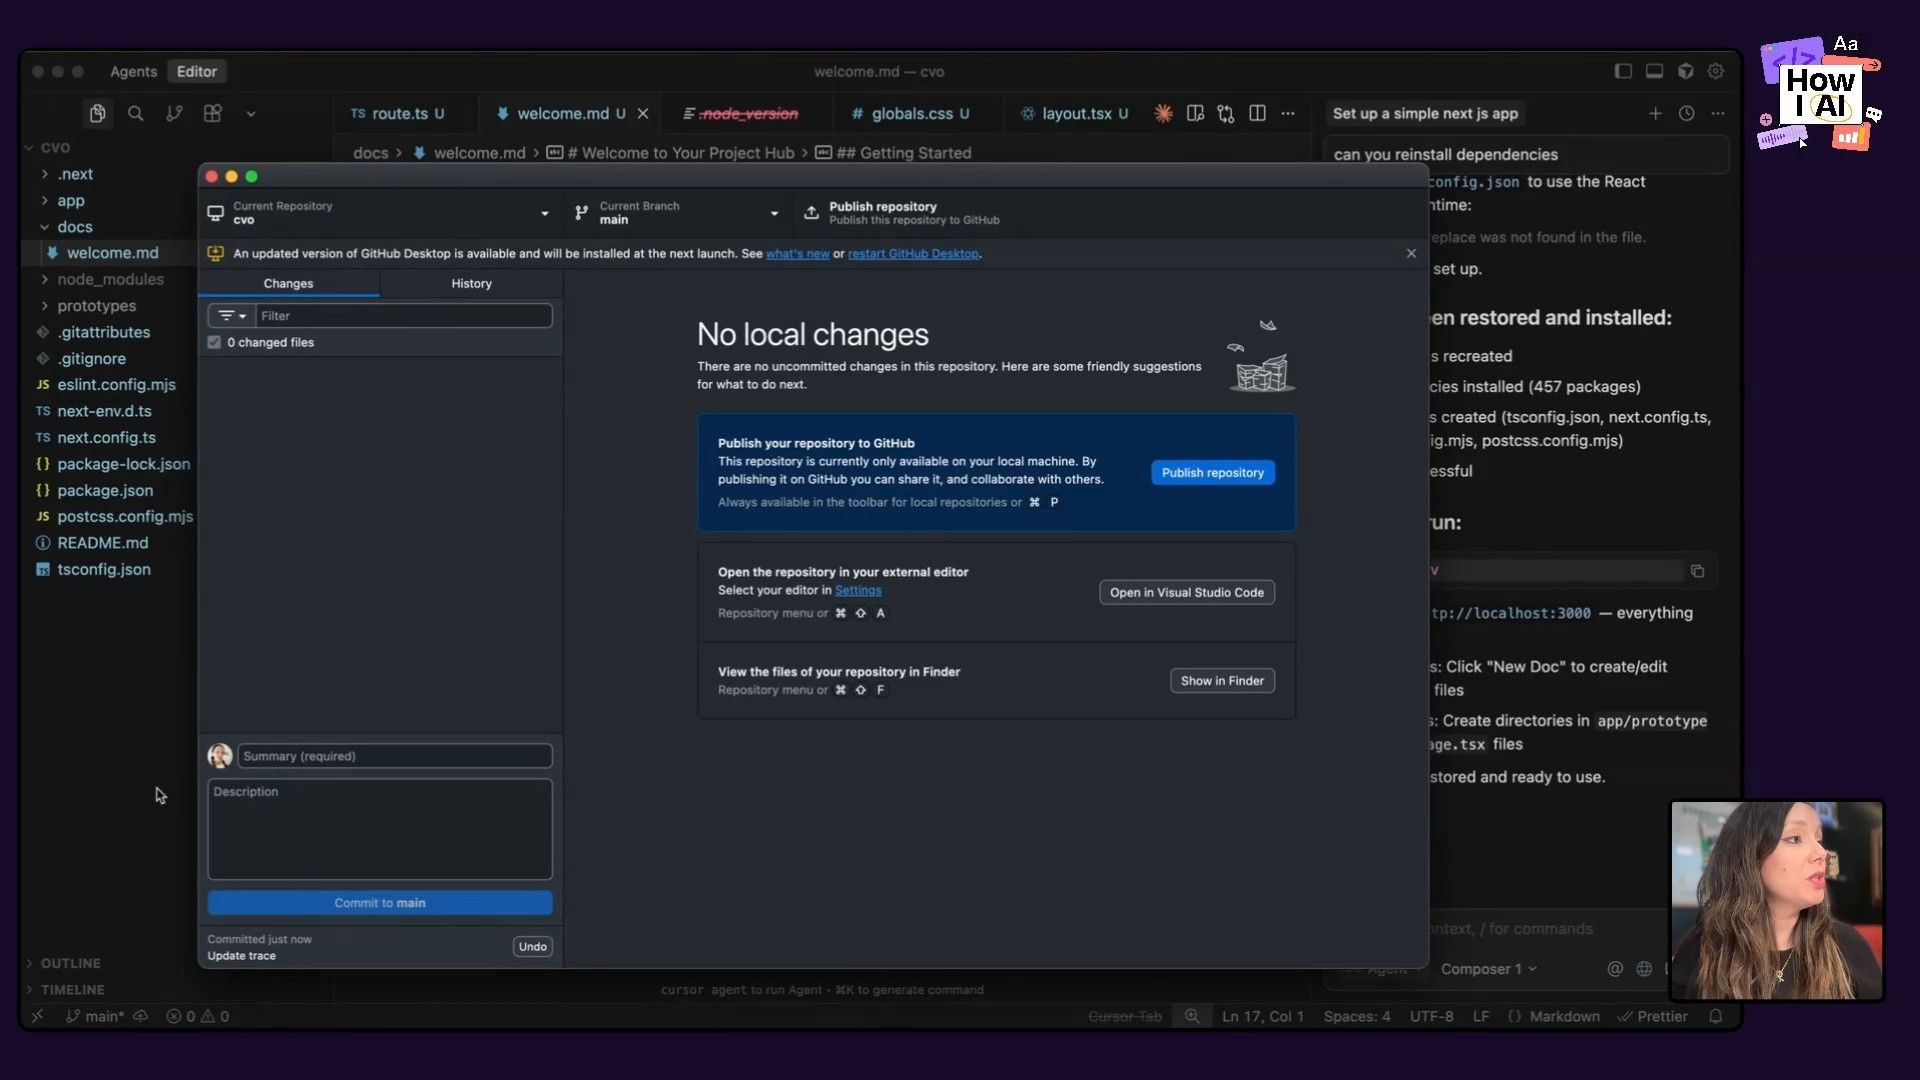
Now, with every change we make, we can create a new commit, giving us a complete history of our project.
Workflow 3: Creating an AI Agent for Consistent Documentation
With our hub up and running, it was time to build out its first feature: managing documents. Instead of just adding files randomly, I wanted to create a reusable 'documentation agent' within Cursor to make sure my PRDs follow a consistent structure.
Step 1: Defining the Agent's Instructions
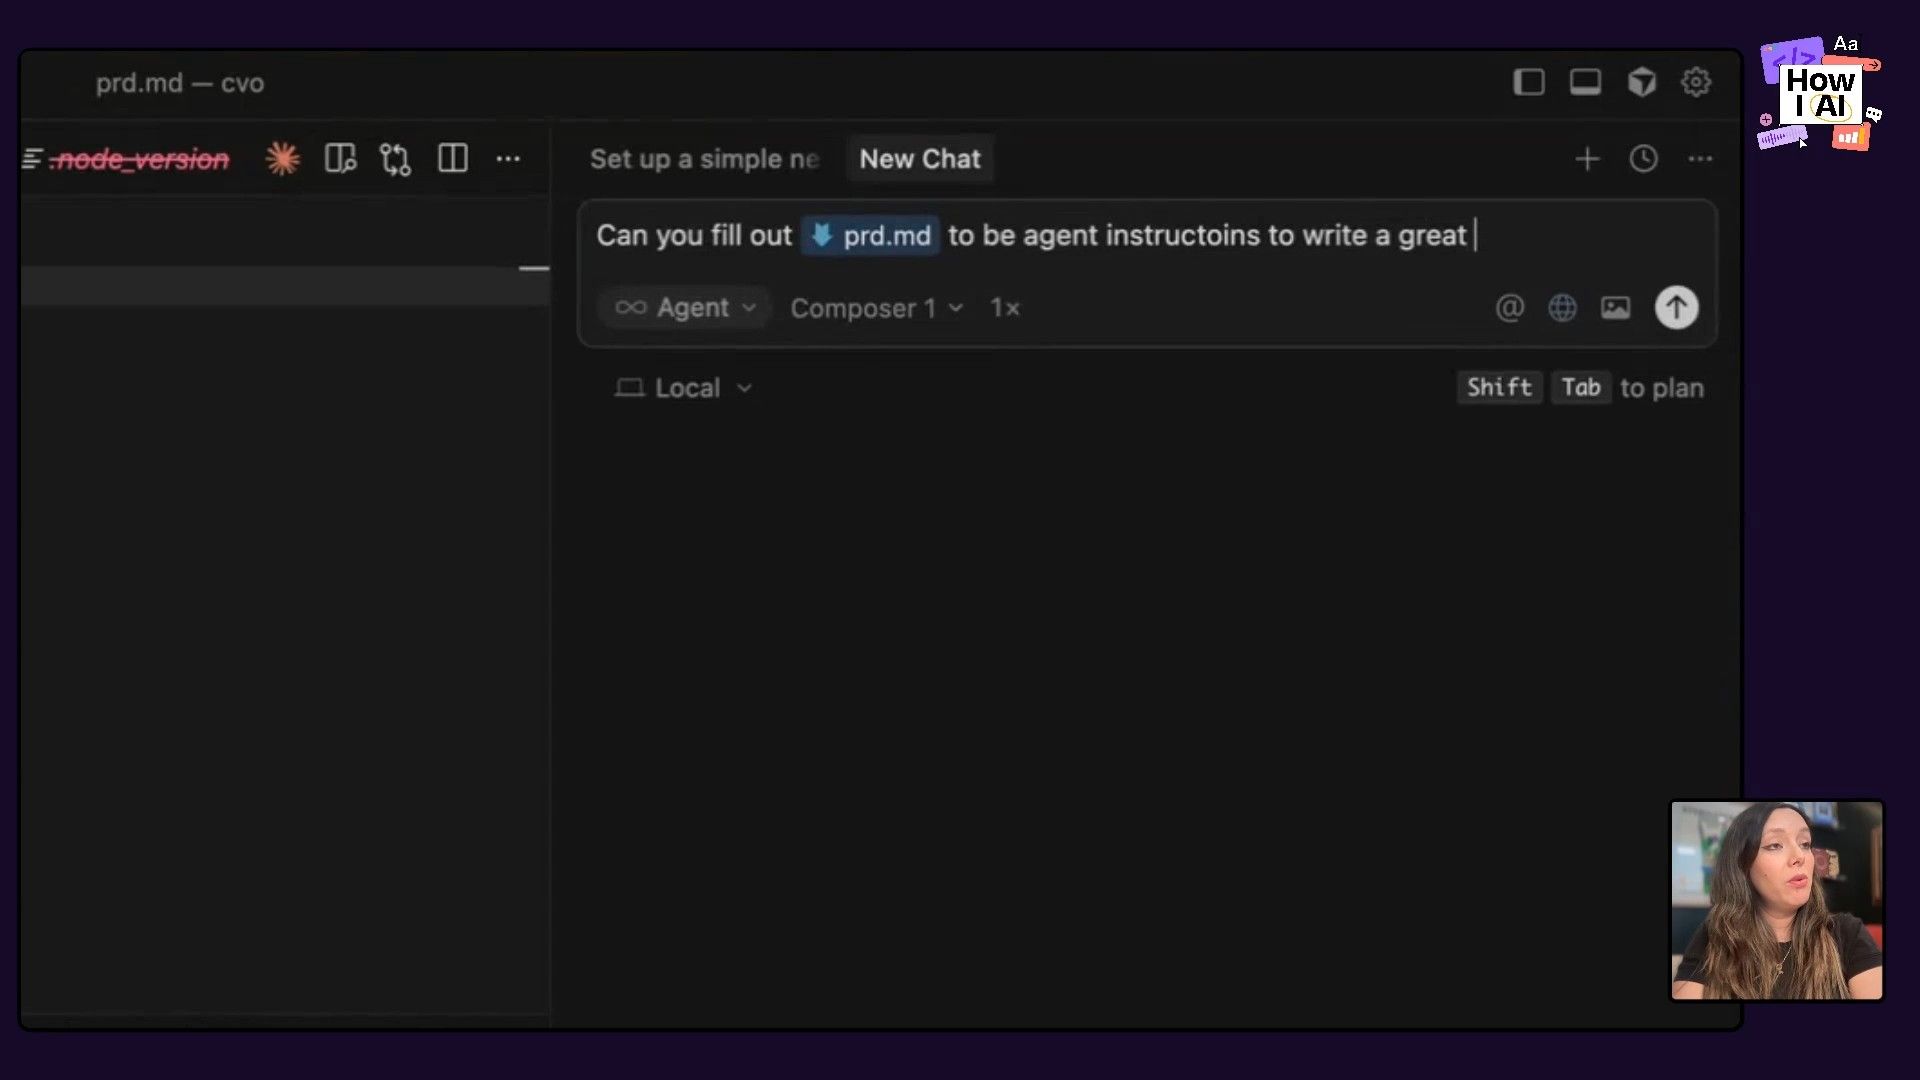
I created a new folder in my project called agents and inside it, a new file named prd.md. This Markdown file would contain the instructions for my PRD-writing AI agent. I then asked Cursor to write the instructions for me:
Can you fill out @prd.md. This is a blank file to be agent instructions to write a great PRD in the @docs folder. PRDs should be in markdown and the instructions should be less than 500 lines long for our AI agent to follow.Cursor generated a great template, defining the agent's role, purpose, and required PRD structure (Problem Statement, Goals, User Stories, etc.). I even refined it by asking it to focus more on technical requirements than business ones, since this is a personal project.
Step 2: Using the Agent to Write a PRD
Now for the fun part! With my agent's instructions saved in prd.md, I could reference it in a new prompt to create a real PRD.
Great. Now write me a PRD for a little scheduling app where my kid can have our neighbors schedule help with weeding, taking out trash cans and sweeping their driveways.Cursor read the instructions from my prd.md file and used that template to generate a brand new document, neighborhood-task-scheduler-prd.md, inside my docs folder. When I refreshed my local web app, the new PRD appeared automatically in the 'Documents' section, ready to view.

This workflow is really useful. You can create different agent instruction files for different types of documents (e.g., meeting notes, technical specs, blog post outlines) and ensure all your AI-generated content is consistent and high-quality.
Workflow 4: Vibe Coding a Clickable Prototype
The other half of our project hub is for prototyping. Following the same pattern, I used the PRD we just created as the basis for building a simple, clickable prototype of the scheduling app.
Step 1: Generating the Prototype Code
Staying within Cursor, I gave the agent its next task:
Great. Use this PRD to create a prototype. Clickable, but does not have to be totally functional, with database, etc. In the prototypes folder. So that I can show a little of how this might work.It's important to specify that you don't need a database or full functionality. This keeps the AI focused on creating the UI and front-end interactions, which is perfect for prototyping. The agent created a new task-scheduler folder inside prototypes and populated it with the necessary files.
Step 2: Testing and Iterating on the UI
I refreshed my web app, and a 'Task Scheduler' link appeared under 'Prototypes'. Clicking it took me to a sign-in page. It wasn't perfect—the text in the input fields was gray and hard to read. But fixing it was as simple as taking a screenshot, dragging it into Cursor's chat, and saying:
It seems like the fields have gray text. Please fix.
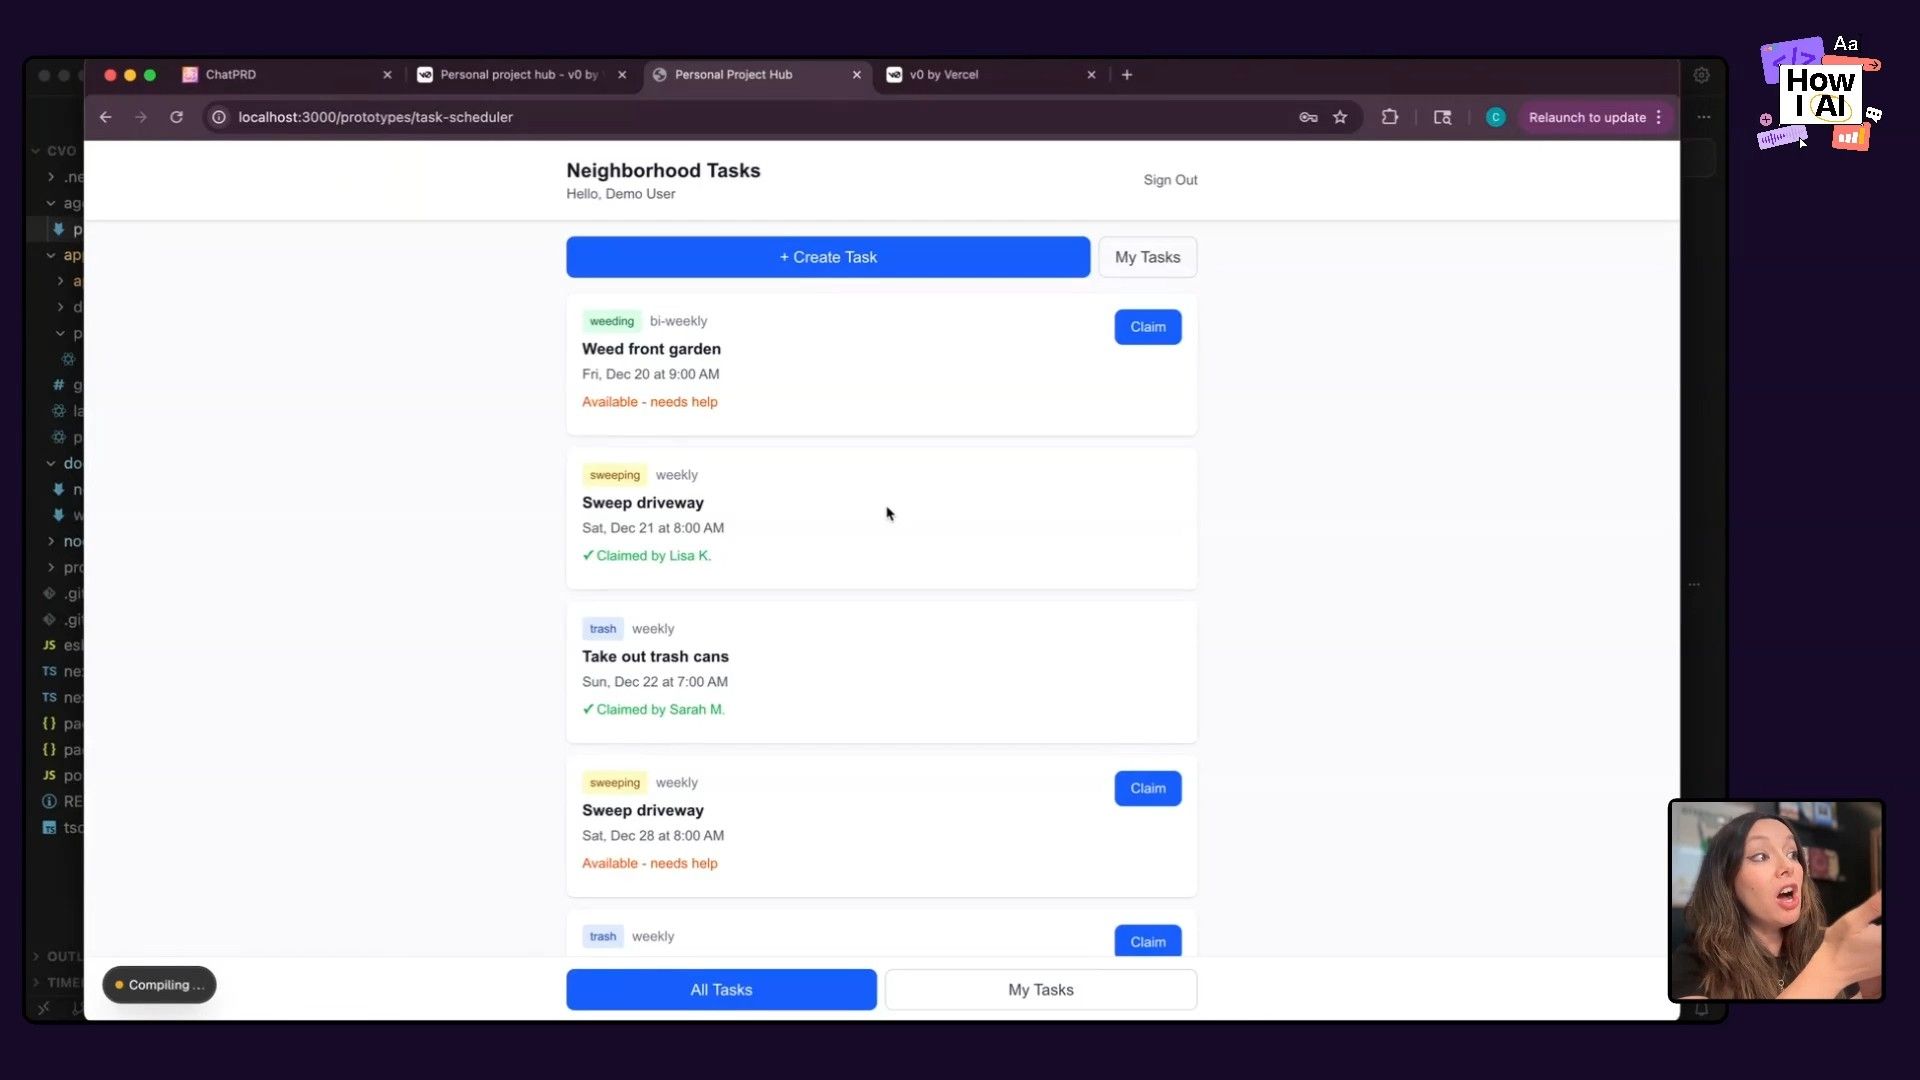
Cursor identified the CSS issue and corrected the code. I signed in (with a fake email, of course) and saw a simple dashboard for creating and viewing tasks. It was a fully clickable, interactive prototype, created in minutes.
Step 3: Making it 'Prettier and Cuter'
Finally, the app's homepage was a bit... basic. For my last trick, I decided to give it a personality upgrade. My prompt was intentionally vague and non-technical:
I don't like the baseline design of the home page of this app. Please uplevel the design to be prettier and cuter. Rename it to 'CVO Personal Hub' and make it less basic.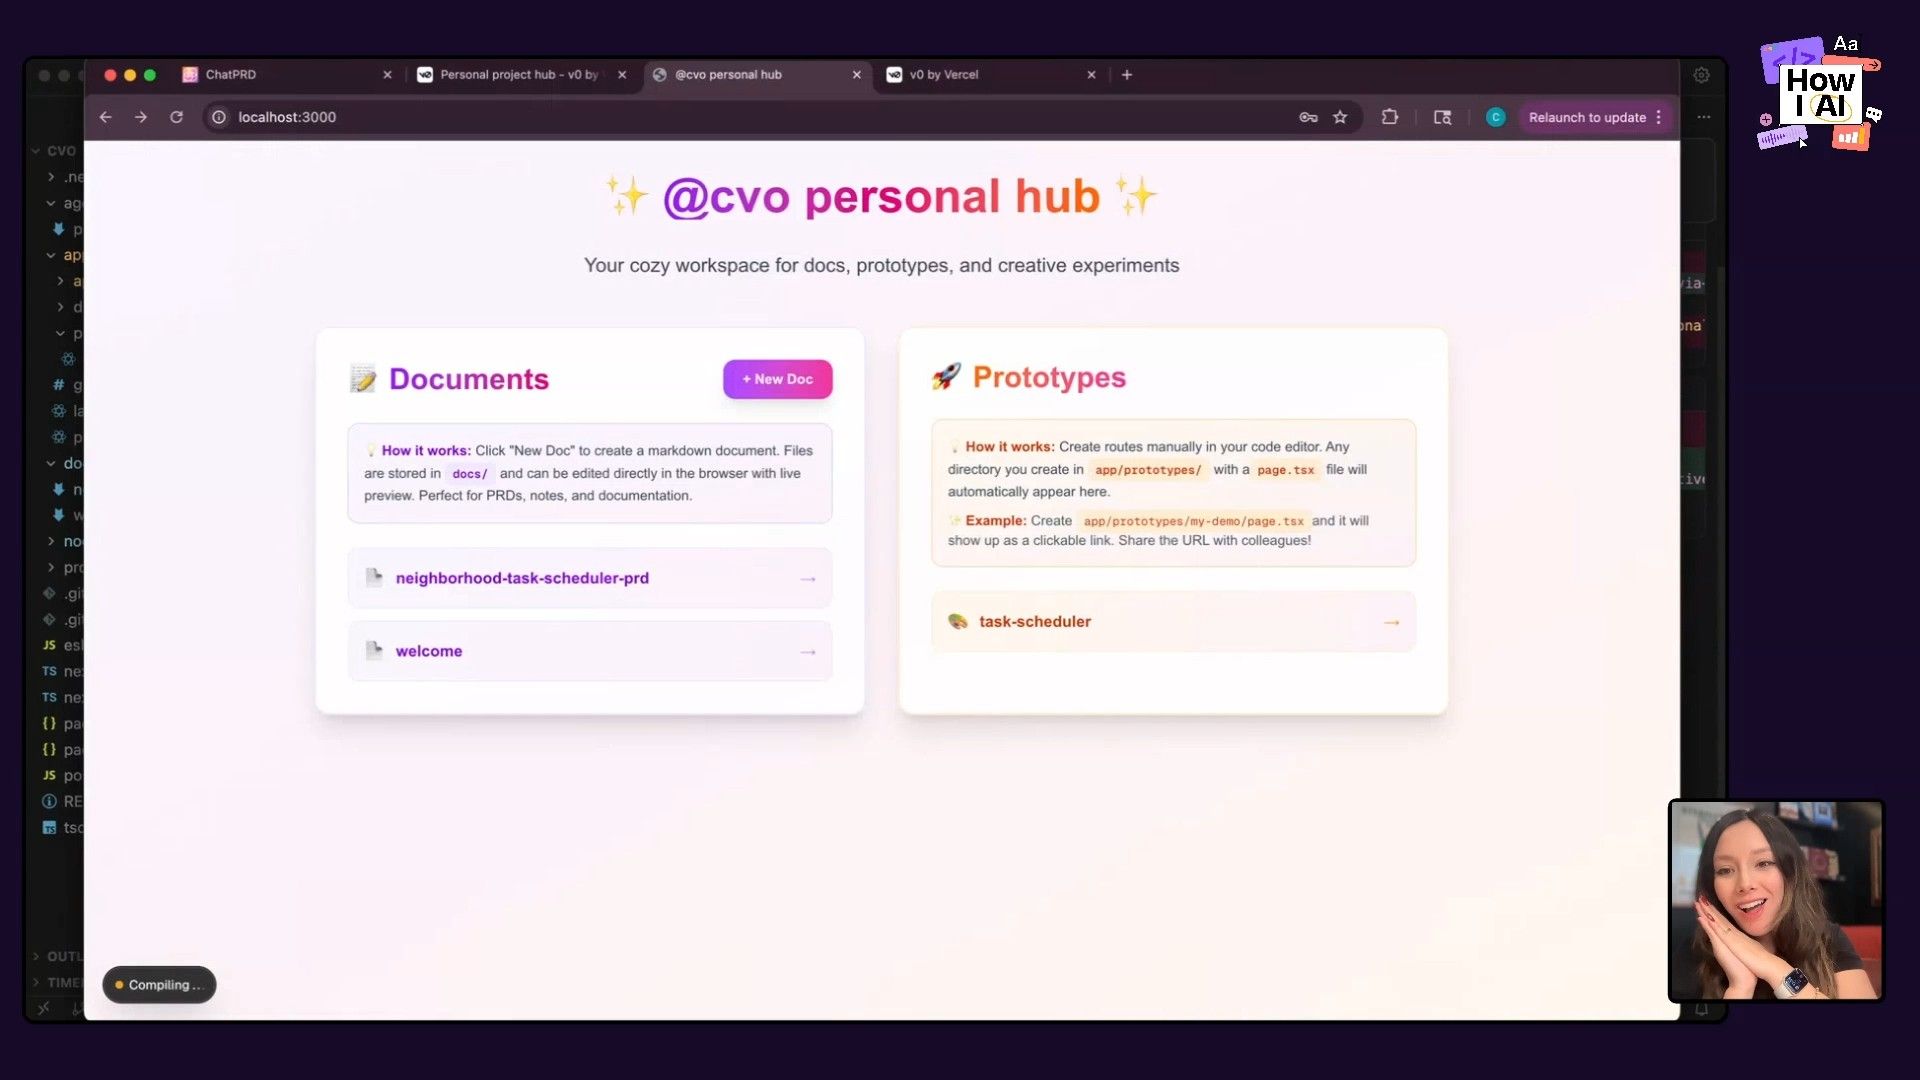
And it delivered! It added a nice gradient, better fonts, and a warmer, more welcoming feel. It was a fun reminder that when you're working locally, you can make things that bring you joy. I committed the final 'pretty and cute' changes to GitHub, and our project was complete.
Your Turn to Start Building
There you have it! We went from an empty folder to a fully functional, local personal project hub. We created a workflow for generating structured documents with an AI agent and another for rapidly building clickable prototypes. We even learned that it’s okay when a tool doesn't work out—the key is to pivot quickly and find a path that works for you.
This project is the perfect 'safe space' to start your AI coding journey. It gives you a practical application to learn the basics of a code editor, version control, and the back-and-forth iteration process with an AI assistant. I really hope this inspires you to open up an editor and start playing. You might be surprised at what you can build.
Happy building!
Episode Links
Try These Workflows
Step-by-step guides extracted from this episode.

How to Rapidly Prototype and Visually Iterate on a UI with Cursor AI
Turn a Product Requirements Document (PRD) into a clickable, interactive prototype using Cursor. Learn how to generate the initial UI and then use text and screenshot-based prompts to quickly fix bugs and improve the design.

How to Create a Reusable AI Agent in Cursor for Consistent Document Generation
Define a set of instructions in a markdown file to create a custom AI agent within Cursor. Use this agent to consistently generate structured documents like Product Requirements Documents (PRDs) for your projects.

How to Build Your First Local Web App from Scratch Using Cursor AI
Learn to go from an empty folder to a functional Next.js web application. This beginner-friendly guide uses Cursor's AI Agent to scaffold, run, and set up version control for your first project hub.


